How to Compress an Image to an Exact File Size - And Why It's Harder Than You Think
Hitting an exact file size - a passport photo under 200KB, a hero image under a strict CMS limit - is one of those tasks that sounds trivial but rarely is. You compress, overshoot by a few kilobytes, lower the quality, and end up with a blurry result. The platform only cares about one number, and that number doesn't map cleanly to any single setting in your encoder.
JPEG compression doesn't work like a zip file with a target-size option. Understanding why is the first step to getting close to the target consistently.
Why Everything Has a Size Limit
Email providers cap attachments primarily because they're mail servers rather than file hosting services. Gmail and Yahoo cap at 25MB, while Outlook limits you to 20MB. These limits seem generous until you realize a single photo from a modern phone camera ranges from 5MB to 12MB, and most people attach several at once.
The truly punishing restrictions aren't in email but in rigid upload forms. Visa applications often demand photos under 200KB, while government portals might require exactly 600x600 pixels at less than 240KB. Job application systems frequently cap resume photos at 100KB, and university portals might reject anything over 500KB. You'll even find forum avatars restricted to as little as 50KB.
These limits exist for practical reasons, as the systems must store millions of images and serve them quickly without blowing a storage budget. However, these platforms rarely provide guidance on how to hit those targets. They simply state the maximum size and leave you to figure it out.
The Quality Slider Doesn't Do What You Want It To
Your natural instinct might be to grab the JPEG quality slider and start dragging. If a quality setting of 90 gives you 800KB, you might try 70. When that results in 180KB but looks terrible, you try 78 and end up with 290KB. This trial and error happens because the relationship between the quality setting and the output file size isn't linear.
Dropping from quality 95 to 90 might cut your file size by 30%, but dropping from 50 to 45 might only save you 5%. The curve is steep at the top and flat at the bottom, which means fine-tuning by slider position is like trying to adjust a thermostat that barely changes the temperature once it moves past a certain point. Additionally, there's no universal formula to predict the exact kilobyte count based on the quality number. The output size depends entirely on the image content.
Why Two Images at the Same Quality Produce Different Sizes
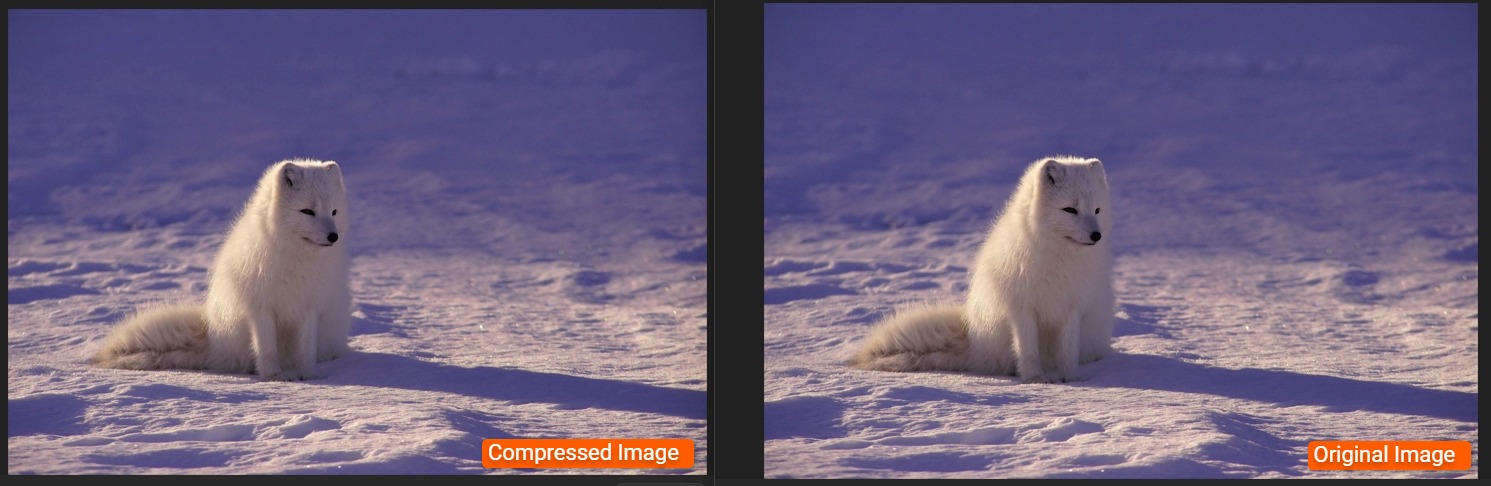
If you take two photos with the same dimensions and save them both at JPEG quality 80, the file sizes will differ significantly. One might come out at 420KB while the other reaches 1.1MB. The tool isn't failing when it misses your target by a few kilobytes; it's simply hitting its mathematical limits.
JPEG compresses by discarding high-frequency detail such as fine textures, sharp edges, and complex color transitions. An image with a lot of that detail, like a forest canopy or a busy street market, has more information to encode. This results in a larger file even after compression. An image with broad, smooth areas, like a foggy landscape or a blue sky, compresses more effectively because there is less information to process. You cannot assume that quality 75 will always result in 300KB. It will give you whatever the content demands at that specific setting.
Iterating to Hit the Target
Since JPEG settings don't have a simple button to hit an exact file size, getting to a target takes a bit of back-and-forth. You have to save the image at a certain quality, check the size, and keep adjusting until the number is right. This is exactly what a good compress to target tool does behind the scenes; it just tests different quality levels to find the one that gets closest to your limit without going over.
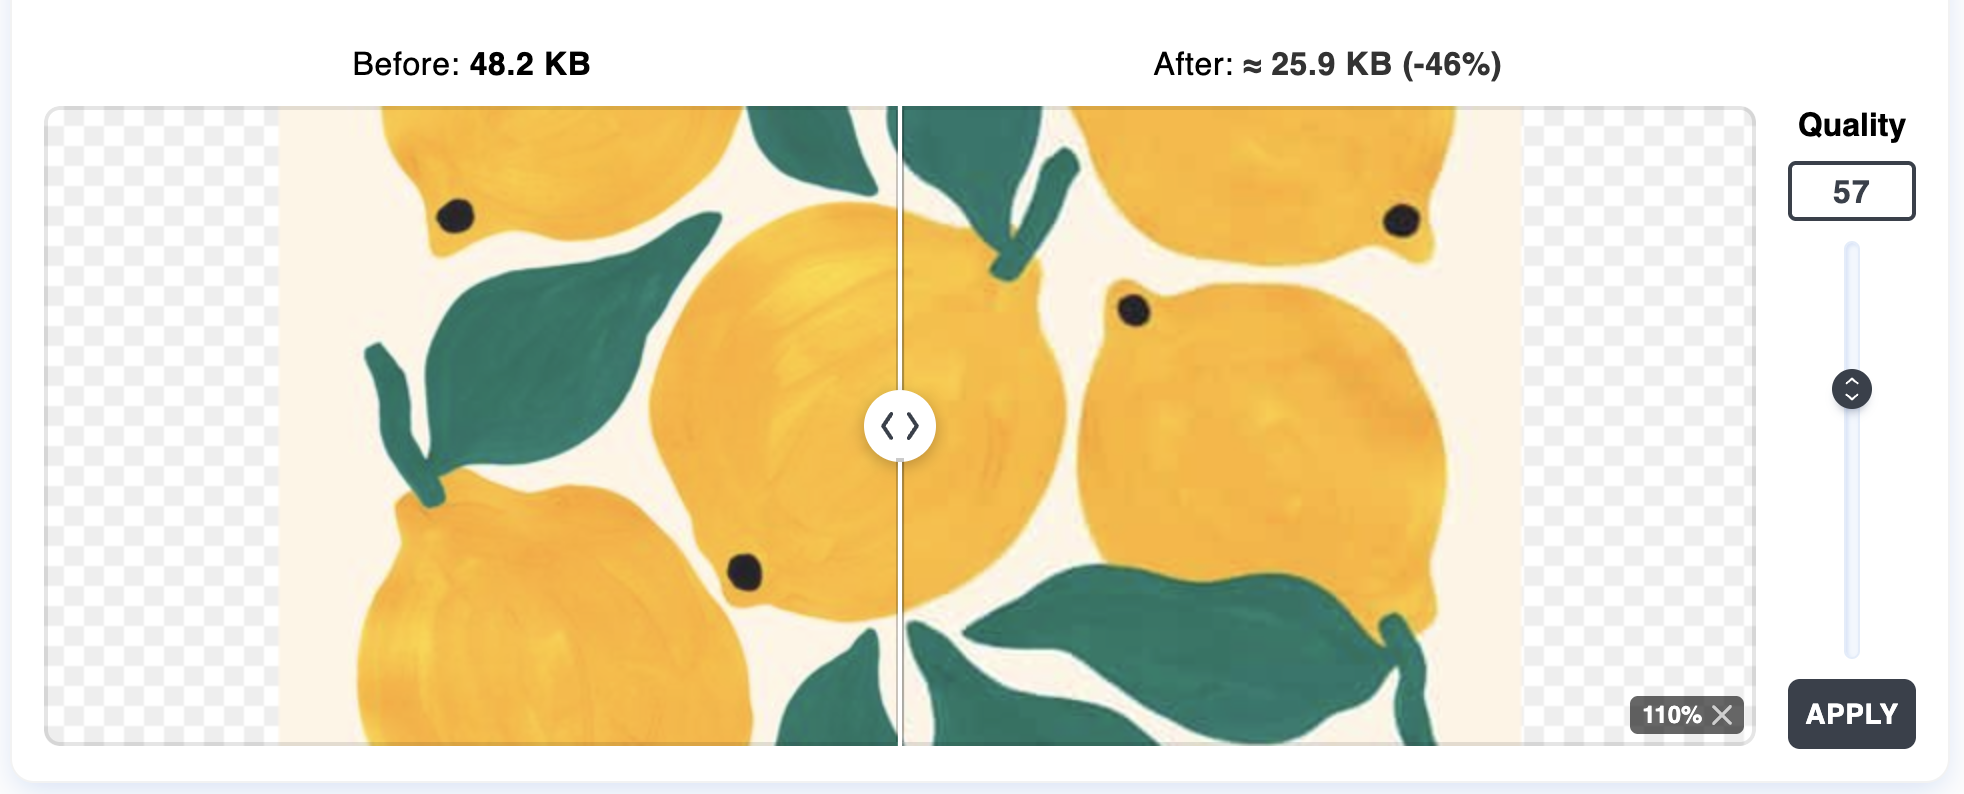
You can do this yourself by starting at a quality setting of 85 and checking the file. If it's too big, you drop to 70. If that version turns out too small, you might try 78. Most people find the right balance in four or five tries, but better tools handle this loop for you. You just type in your 200KB goal, and the software runs the tests until it hits the mark.
Often, you'll land slightly under your goal rather than exactly on it because JPEG quality steps use whole numbers. If a quality setting of 73 gives you 195KB and 74 jumps to 212KB, the tool will provide the 195KB file to stay under your limit.
Resolution vs. Quality: Which Lever to Pull First
When you need to hit a specific size, you have two main options: lower the quality or shrink the resolution. Most people reach for the quality slider first because it doesn't change the dimensions of the image. However, this is usually the wrong move.
Shrinking the resolution is almost always the better first step. A massive 4000x3000 photo meant for a 600x600 passport upload doesn't need 12 million pixels. Resizing it to the required dimensions first will slash the file size dramatically before you even touch the quality settings. After that, you'll only need minor adjustments to hit your exact target.
Lowering the quality keeps the pixel count the same but makes every pixel look worse. Scaling the image to 600x600 first and saving it at a quality of 82 gives you a small, sharp file. Fewer pixels mean there's less data to squeeze, which results in much higher quality for every byte.
☞ Rule of Thumb: Resize to the dimensions you actually need first. Then adjust quality to hit the size target. Not the other way around.
Specific Scenarios and What Actually Works
To reach your target file size efficiently, apply these strategies to the most common upload scenarios:
- Passport and Visa Photos: Most government portals specify both dimensions and file size. Start by cropping and resizing to those exact dimensions. A 600x600 portrait photo at quality 85 typically lands between 60KB and 150KB. If you're over the limit, drop to 80. You'll almost certainly stay under the cap with a clean-looking result. If the portal demands a strict limit like 50KB, you'll likely need to drop to quality 60 or 65.
- Job Application Portals: These systems often want a headshot under 500KB or 1MB. If there's no specific size required, resize the image to 800x800 or 1000x1000 pixels. At those dimensions and a quality of 85, you'll be well under any reasonable limit.
- Email Attachments: Gmail's 25MB limit is generous for single images but tight if you're sending a batch. Resize your photos to 2000 pixels on the long edge and save them at quality 82. This ensures a batch of ten photos will fit comfortably. If you need to go smaller, 1200 pixels at quality 80 usually keeps files under 300KB each.
- Forum Avatars: These are often the strictest limits, sometimes hitting 50KB at dimensions like 150x150. At those sizes, JPEG quality barely matters because the file is naturally small. If you're still hitting the limit, check your dimensions first. If you're at the right size and still over, try applying a very slight blur before saving to smooth out the fine details that inflate file size.
When the Target Is Genuinely Impossible
Sometimes the math doesn't work. A portal might request a 1000x1000 photo under 30KB in JPEG format, which is roughly 0.03 bytes per pixel. You would need to drop the quality so low that the image would become an unrecognizable grid. At some point, the target size for your file is physically incompatible with the required dimensions and acceptable visual quality.
In those situations, your options are limited:
- Contact the organization to ask if the limit is correct, as it might be an outdated specification.
- Try a different format if the portal accepts it; WebP can be much smaller than JPEG at equivalent quality.
- Reduce the dimensions below what is specified and hope the portal does not reject it.
Some government portals have contradictory requirements that are impossible to satisfy. When you hit this wall, the specification is usually the problem, not your skills.
Resize, Then Iterate — and Accept Close, Not Exact
There is no single setting that converts an image to an exact size while guaranteeing quality. Tools that offer an "exact file size" feature are running the same trial-and-error loop internally - they just iterate faster than you can by hand. The quality slider is not a direct dial for file size, different images behave differently, and some targets are unreachable at the required dimensions without unacceptable quality loss.
A reliable workflow is mechanical: resize to the appropriate dimensions, then either use a target-size tool or run a few quality settings manually, and accept that you'll land close to - not exactly on - the target. If the output looks bad, the target is probably too aggressive for the dimensions; shrink further or push back on the requirement.